ControlNet: Controlling Diffusion Model Outputs
G'day! Today I'll describe my short intermezzo with the ControlNet (L. Zhang et. al) architecture. Originally, I announced this in my previous post about the IP-Adapter, where I mentioned that I wanted to have more control over the diffusion model outputs.
But I didn't want to just use this announced silver bullet. I wanted to go a step beyond that and wanted to use the most optimized version of the ControlNet architecture.
Diffusion Models
To not give too much away, I'll briefly explain what diffusion models are.
Diffusion models are a class of generative models that are trained to predict the next step of a sequence of data. The idea is to predict the next step of a sequence of data, given the previous steps. Architecturally, diffusion models are based on the idea of denoising autoencoders.
Autoencoders are a class of neural networks that are trained to reconstruct their input. They do this by encoding the input into a latent representation and then decoding this latent representation back into the input space.
The encoder and decoder are trained jointly, such that the reconstruction error is minimized. Geometrically, we can think of the endcoder as a mapping from the input space to a lower-dimensional manifold, and the decoder as a mapping from this manifold back to the input space. Both do that sequentially using a series of layers. As usual, the layer dimensions are a power of 2, e.g. 64, 128, 256, 512, 1024, etc. This applies to the encoder and decoder.
So we shrink the input data into a lower-dimensional space and then expand it back to the original space. For some reason, this works well for the task of image denoising.
The input of the diffusion model is a sequence of data, and the output is the next step of the sequence. Our first input to the model can for instance be a noisy image, e.g. randomly colored pixels.
The real enginuity of the good diffusion models is that they choose this noisy input very carefully and precisely so after many steps of the original input through the model, the output is a clean high quality image.
ControlNet
See, ControlNet is an architecture is not a complete new approach, but rather a fine-tuned variant of the base diffusion model.
The main difference is that ControlNet introduces a new input to the model, think of it as a control signal. This control signal is then used in every layer of the encoder and every layer of the decoder. Basically, before we pass the output of one layer into the next one, we add the control signal to it.
In detail this control signal is not the original additional input to the model, but rather a learned representation of it.
This architecture allows two major things:
- We can train model for a type of control signal without having to train or fine-tune the base model again.
- We can use pre-trained ControlNet models for different control signals with the same base model.
Latent Consistent Models (LCMs)
I'm lazy and one of the major things I don't like about the original Stable Diffusion model is that you need to run seemingly endless steps of the model to get a good output.
Good results start around 30-40 steps. That's around 30 seconds on average on my machine.
Especially when running quick experiments I don't want to wait that long. To overcome this up until now I used 1-3 steps of the model to evaluate an implementation. But the quality is horrible.
Here are some examples of the same prompt with different steps:
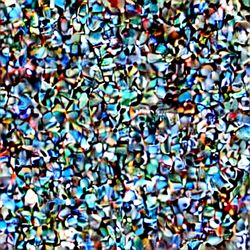
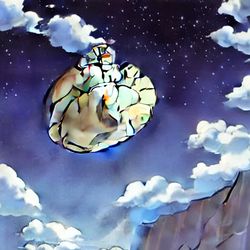

I generated them using the following code snippet:
from diffusers import StableDiffusionPipeline
import torch

pipe = StableDiffusionPipeline.from_pretrained(
    "runwayml/stable-diffusion-v1-5",
    safety_checker=None,
    torch_dtype=torch.float16,
).to("cuda")

pipe.enable_xformers_memory_efficient_attention()

# generate images
for steps in [2, 10, 45]:
  img = pipe(
      "a white castle, floating boulder in the sky, studio ghibli",
      negative_prompt="ugly, disfigured, low quality, blurry, blend shapes",
      guidance_scale=8,
      num_inference_steps=steps,
      generator=torch.manual_seed(0)
  ).images[0]

  img.save(f'img_{steps}.png')
To overcome this, and to be better prepared for ControlNet, I decided to take a detour and researches the idea of Latent Consistent Models (LCMs).
All we need to know is that LCMs are essentially a modified version of a base diffusion model, such as runawayml/stable-diffusion-v1-5 or Lykon/dreamshaper-7 (SD 1.5 fine-tune).
And their main advantage is that they can produce high-quality outputs after only a few steps!
Comparison
Let's briefly compare the outputs of the same prompt with the same number of steps for the base model and the LCM variant. For this we'll use the Lykon/dreamshaper-7 model.
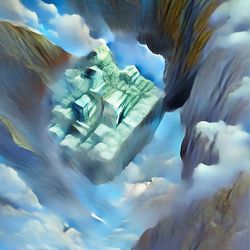


As you can see this model produces already high-quality outputs after only 10 steps. That's a huge improvement over the base model which seems to struggle even after 45 steps.
Now let's see how the LCM model outputs look like. Of course we'll use the same prompt but a different number of steps.






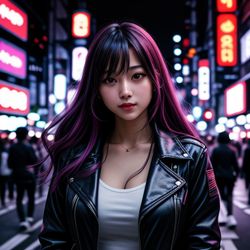
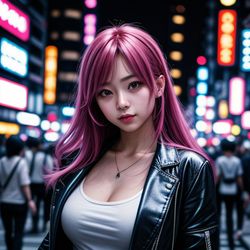
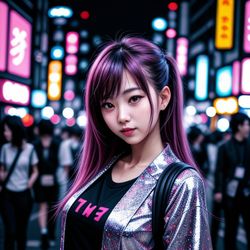
A set of examples with a second prompt:
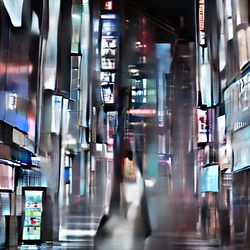
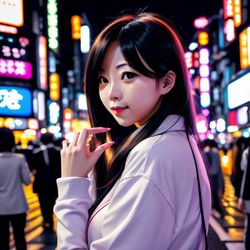
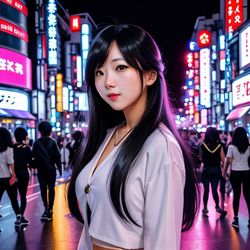
and with the LCM model:


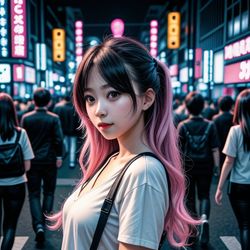
Sweet, right? The LCM model produces high-quality outputs after only a few steps.
Alright, now we are prepared for ControlNet.
ControlNet Usage
We know now that we can use LCMs to get high-quality outputs after only a few steps. And that we can use ControlNet to control the outputs of the model.
But how does this actually work, and what parts of the output can we control?
Originally, I was introduced to ControlNet by the amazing QRCodeMonster published around a year ago by Monster Labs.
I was fascinated by the idea of controlling the outputs of the model, but I didn't understand how it works. And mostly, all attempts to use it failed miserably.
Well... this didn't change today, I still faced the same issues and didn't understand them in the first place.
But this time, I had a greater understanding of the underlying models! Which is a huge advantage.
The idea of the QRCodeMonster is to control the outputs of the model by using a QR code as a control signal. The resulting image should then contain the QR code "hidden" in the image.
The most prominent example for the model is its own QR code:
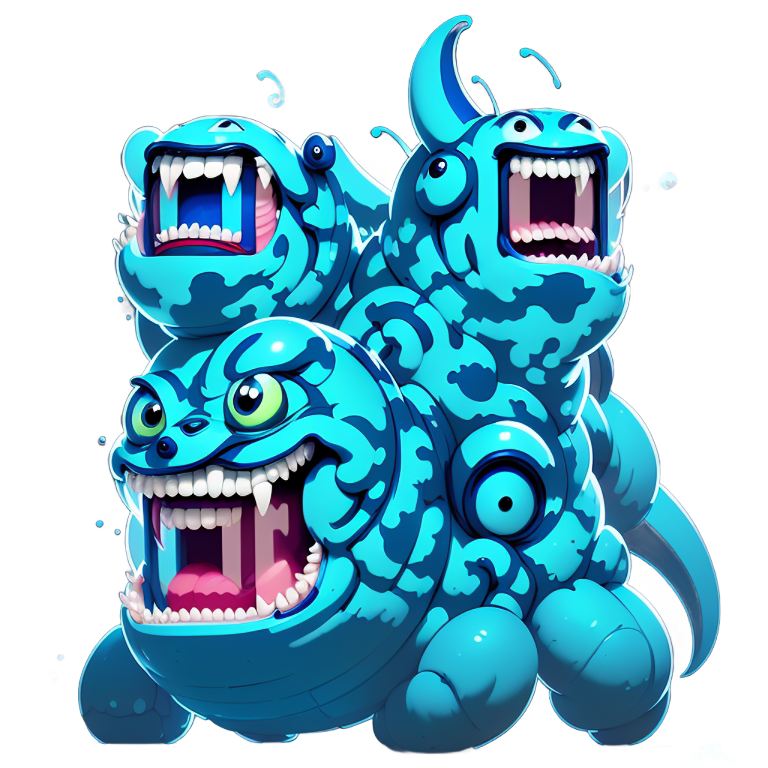
My first attempt:
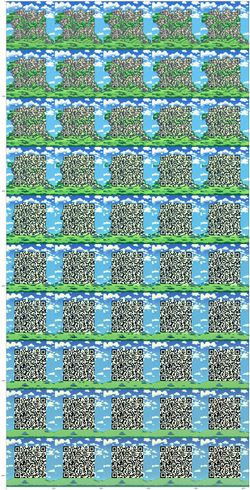
Open the image in a new tab to zoom more comfortably. You will notice that only the lower QR codes are scannable.
That was super disappointing. But I didn't give up and tried again with different parameters.
After playing around for some time, I finally managed to get a scannable QR code in the image:
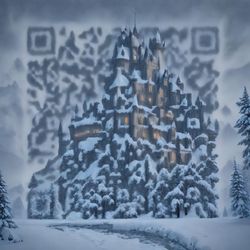
controlnet_conditioning_scale=0.875
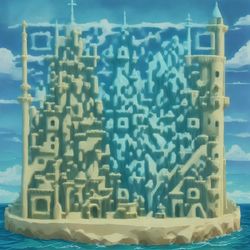
controlnet_conditioning_scale=0.875
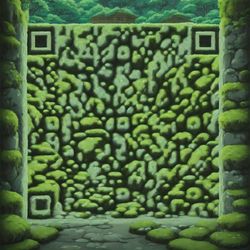
controlnet_conditioning_scale=0.85
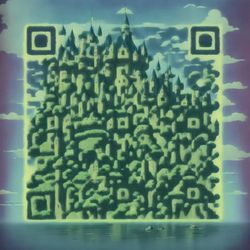
controlnet_conditioning_scale=0.9
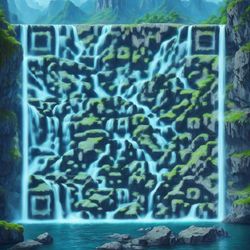
controlnet_conditioning_scale=0.9
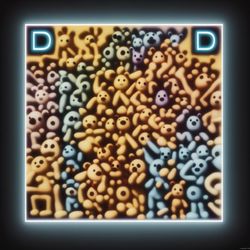
controlnet_conditioning_scale=0.8, guidance_scale=8, steps=35
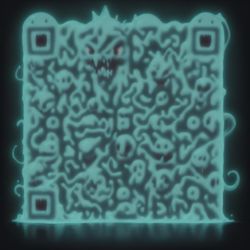
controlnet_conditioning_scale=0.66, guidance_scale=10, steps=15
The implementation for the above examples is quite simple.
You can use the diffusers library to load the ControlNet model and a base model.
We will also use the latent-consistency/lcm-lora-sdv1-5 LoRA to reduce the number of required inference steps.
from diffusers import ControlNetModel, StableDiffusionControlNetPipeline, LCMScheduler
import torch

controlnet = ControlNetModel.from_pretrained("monster-labs/control_v1p_sd15_qrcode_monster", subfolder='v2', torch_dtype=torch.float16)
pipe = StableDiffusionControlNetPipeline.from_pretrained(
    "SimianLuo/LCM_Dreamshaper_v7",
    controlnet=controlnet,
    safety_checker=None,
    torch_dtype=torch.float16,
).to("cuda")

# set scheduler
pipe.scheduler = LCMScheduler.from_config(pipe.scheduler.config)

# load LCM-LoRA
pipe.load_lora_weights("latent-consistency/lcm-lora-sdv1-5")
pipe.fuse_lora()
pipe.enable_xformers_memory_efficient_attention()
Apart from this, we also need a method that can generate QR codes for given content.
We use the qrcode library for this, just like the authors of the QRCodeMonster model.
import qrcode
from PIL import Image


def create_code(content: str, fill_color="black", back_color="white"):
    qr = qrcode.QRCode(
        version=1,
        error_correction=qrcode.constants.ERROR_CORRECT_Q,
        box_size=16,
        border=1,
    )
    qr.add_data(content)
    qr.make(fit=True)
    img = qr.make_image(fill_color=fill_color, back_color=back_color)

    # find smallest image size multiple of 256 that can fit qr
    offset_min = 8 * 16
    w, h = img.size
    w = (w + 255 + offset_min) // 256 * 256
    h = (h + 255 + offset_min) // 256 * 256
    if w > 1024:
        raise Exception("QR code is too large, please use a shorter content")
    bg = Image.new('L', (w, h), 128)

    # align on 16px grid
    coords = ((w - img.size[0]) // 2 // 16 * 16,
              (h - img.size[1]) // 2 // 16 * 16)
    bg.paste(img, coords)
    return bg
This method yields QR codes as images scaled for our pipeline
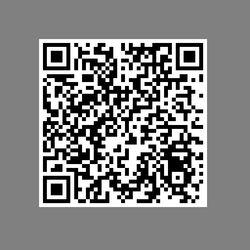
For inference we wrap the generation of the QR code and the pipeline into a final pred method
def pred(prompt, negative_prompt, controlnet_conditioning_scale, guidance_scale, seed, qr_code_content):
    generator = torch.manual_seed(seed) if seed != -1 else torch.Generator()

    print("Generating QR Code from content")
    qrcode_image = create_code(qr_code_content, "black")

    out = pipe(
        prompt=prompt,
        negative_prompt=negative_prompt,
        image=qrcode_image,
        width=qrcode_image.width,
        height=qrcode_image.height,
        guidance_scale=float(guidance_scale),
        controlnet_conditioning_scale=float(controlnet_conditioning_scale),
        generator=generator,
        num_inference_steps=4,
    )
    return out.images[0]
This can yield some pretty cool results, like the ones above or the following:
qr_code_content = "https://blog.godesteem.de/notes/zero-shot-classification/"
prompt = "a white castle, floating boulder in the sky, studio ghibli"
negative_prompt = "ugly, disfigured, low quality, blurry, blend shapes"

guidance_scale = 1
controlnet_conditioning_scale = 0.0
seed = 420

pred(prompt, negative_prompt, controlnet_conditioning_scale, guidance_scale, seed, qr_code_content)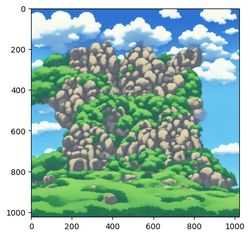
Now, you really need to play around with the parameters for every prompt to get a good result.
Especially the controlnet_conditioning_scale parameter is crucial for the QR code to be scannable.
Play around and keep your phone ready to scan the QR code!
Conclusion
I hope you liked this brief introduction to ControlNet and the idea of controlling the outputs of a diffusion model.
There are a bunch of other variants of fine-tuned ControlNet models available on Hugging Face, like the monster-labs/control_v1p_sd15_qrcode_monster or the original lllyasviel/ControlNet-v1-1.
For instance on civitai.com the "Mysee" model seems to be promising in terms of embedding text into images.

Next I plan to dive a little deeper into other applications of ControlNet and the QRCodeMonster model. While doing so, I'll also run a few image-to-image models for upscaling and style transfer.